
So you built your Appium tests and running it locally, then developer make changes and asking you to run tests, you dropping everything making a build against his branch for android and ios application, executing the tests. Now the tests failing you reporting it to the developer, he is back fixing it. Meanwhile, there is another pull request and the second developer asking you to do the same thing. Hope you getting what I’m trying to say you either spending a day running tests or educating developers on how to run appium on their local environments.
Well, there is an alternative. You can set up cloud solution, so devs can build the app, and run the tests on a virtual machine, so they can continue working on new features, you continue working on extending test automation framework and in parallel tests running on a cloud solution.
In this post we going to discuss how to run JavaScript Appium tests on Android emulator with Azure DevOps.
First thing first we will need to build an app, in this example, we are looking for .apk (Android application file) and then host it somewhere on the cloud server (you can use AWS S3 to keep your file). Once you get URL for the .apk, point your Appium app path to that URL, better to have static URL, that won’t change.
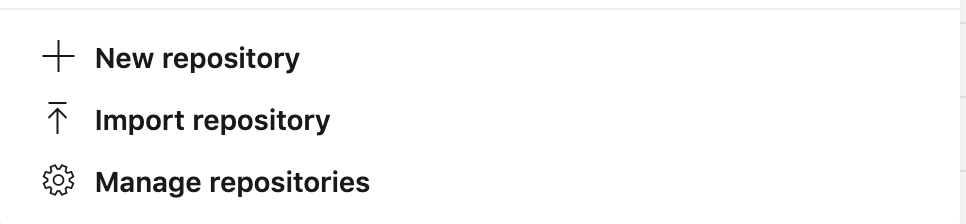
Now we can open Azure DevOps and either add a new repository with your appium tests or import existing ones. Note: you would need admin access to perform this action.
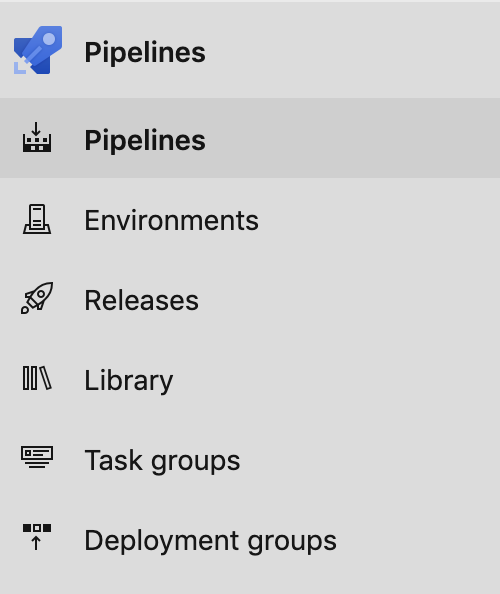
Once repository added, you can start creating pipeline. Select pipelines
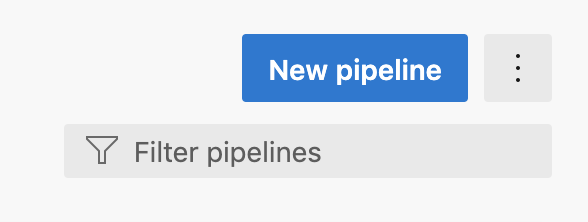
And add new pipeline:
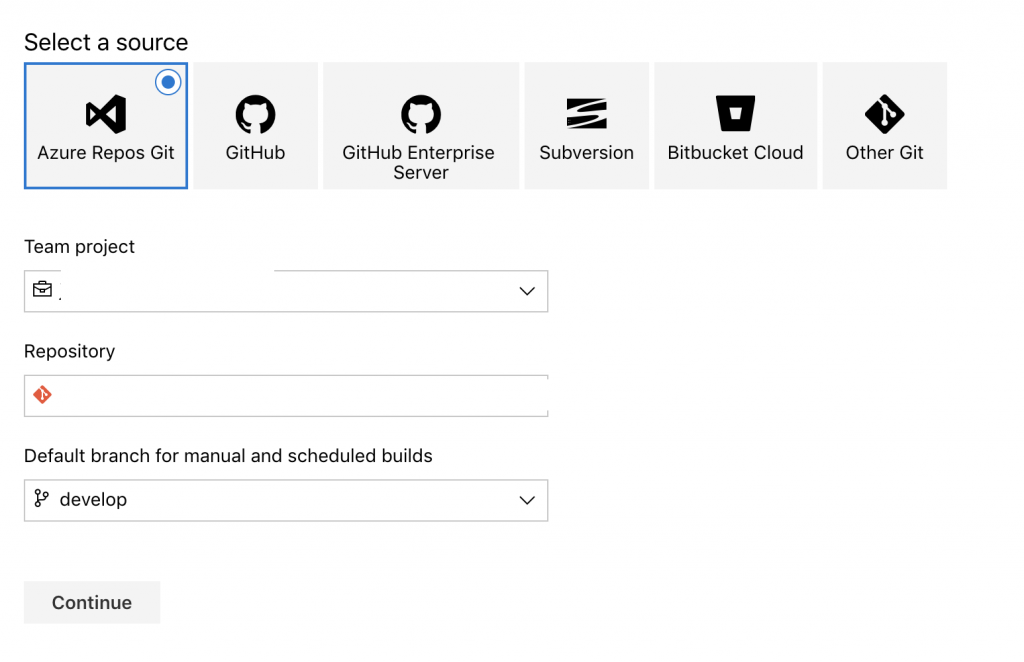
In this example our project is Azure Git repository, so we going to select it and complete the form
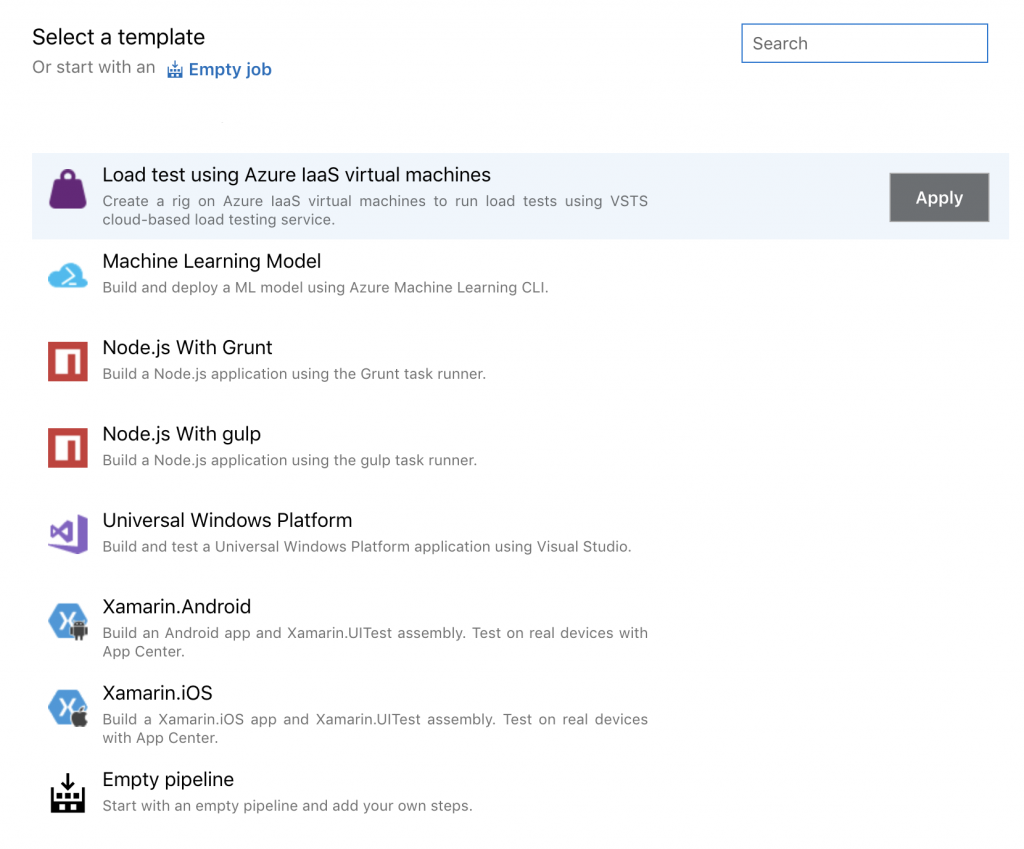
Then we going to be asked to select a template, for the purpose of this blog we going to build everything from scratch, so lets start with Empty pipeline (it should be at the bottom of the templates):
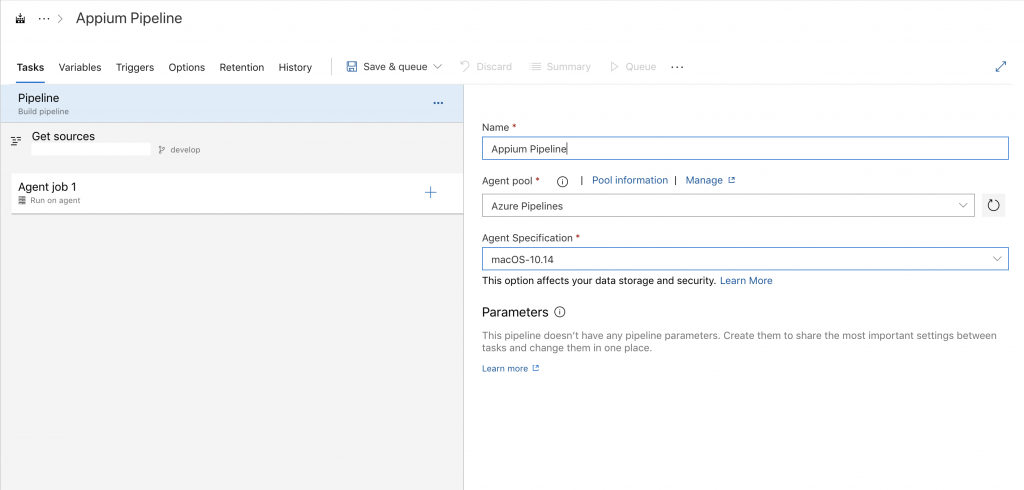
No we will need to give a name and select OS we want to run this tests on(I’m a Mac user, so for this demo we going to use macOS):
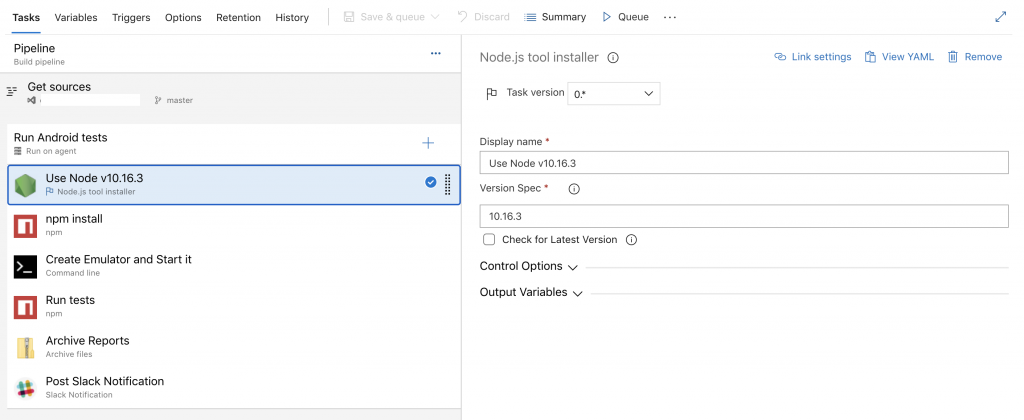
Now we going to add tasks to our pipeline, remember we running Appium in JavaScript, first, we would need to install nodejs on our MacOS, click plus icon and add job, look for Node in the search:
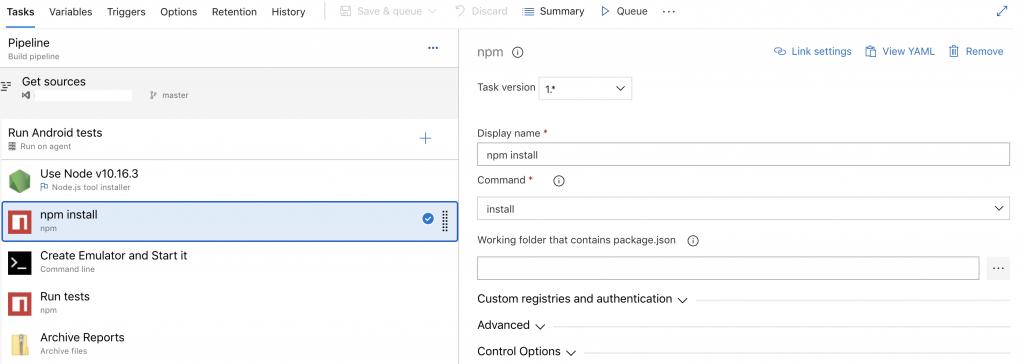
Then we adding npm command, where we running npm install , to install all our libraries from package.json.
Now we are ready to launch our android Emulator, so let’s add Command line task and execute the script below:
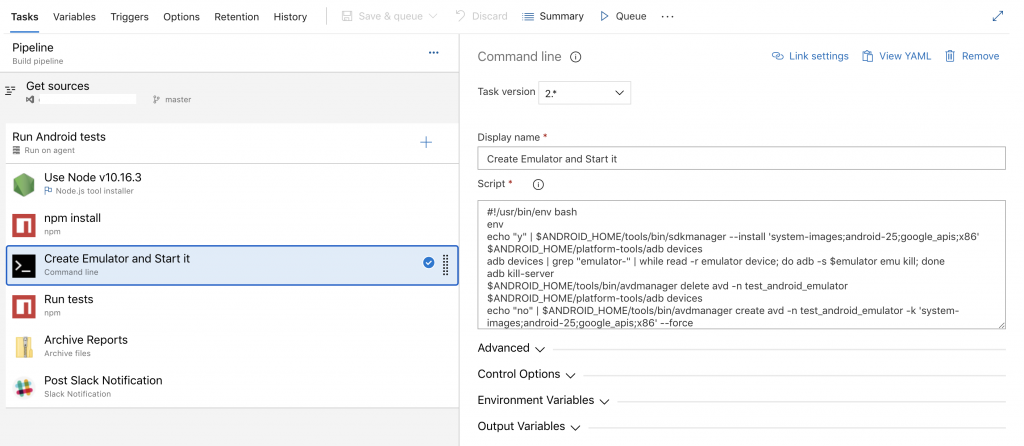
#!/usr/bin/env bash
env
echo "y" | $ANDROID_HOME/tools/bin/sdkmanager --install 'system-images;android-25;google_apis;x86'
$ANDROID_HOME/platform-tools/adb devices
adb devices | grep "emulator-" | while read -r emulator device; do adb -s $emulator emu kill; done
adb kill-server
$ANDROID_HOME/tools/bin/avdmanager delete avd -n test_android_emulator
$ANDROID_HOME/platform-tools/adb devices
echo "no" | $ANDROID_HOME/tools/bin/avdmanager create avd -n test_android_emulator -k 'system-images;android-25;google_apis;x86' --force
nohup $ANDROID_HOME/emulator/emulator -memory 2500 -avd test_android_emulator -skin 768x1280 -no-snapshot > /dev/null 2>&1 & $ANDROID_HOME/platform-tools/adb wait-for-device shell 'while [[ -z $(getprop sys.boot_completed | tr -d '\r') ]]; do sleep 1; done; input keyevent 82'
echo "Emulator started"
Looks like all set and we are ready to run our tests, let’s add another npm task, select custom command and in Command and arguments add your test execution command (the one you specified in package.json):

That is pretty much it if your tests have report, I’m using mochawesome in my project, you can archive it and post the report in a slack channel


Liran Dobrish
Nice Post, i especially liked the emulator loading script
you can improve the pipeline by adding “mocha-junit-reporter” (https://www.npmjs.com/package/mocha-junit-reporter) and then publish the result to the Azure DevOps using “Publish Test Results” which will allow you to keep track of test status
Slav Kurochkin
Thanks Liran, glad you liked it, I’m going to give a try to “mocha-junit-reporter” in my project, thanks for the suggestion.
autoRobo
@slav , Nice article, let me know what are the pre setup required here?
when I run emulator setup , getting this below error
* daemon not running; starting now at tcp:5037
* daemon started successfully
List of devices attached
/home/vsts/work/_temp/89c6479b-6f23-46ed-a325-43b1bfd95aa7.sh: line 5: adb: command not found
/home/vsts/work/_temp/89c6479b-6f23-46ed-a325-43b1bfd95aa7.sh: line 6: adb: command not found
Exception in thread “main” java.lang.NoClassDefFoundError: javax/xml/bind/annotation/XmlSchema
at com.android.repository.api.SchemaModule$SchemaModuleVersion.(SchemaModule.java:156)
at com.android.repository.api.SchemaModule.(SchemaModule.java:75)
at com.android.sdklib.repository.AndroidSdkHandler.(AndroidSdkHandler.java:81)
at com.android.sdklib.tool.AvdManagerCli.run(AvdManagerCli.java:213)
at com.android.sdklib.tool.AvdManagerCli.main(AvdManagerCli.java:200)
Caused by: java.lang.ClassNotFoundException: javax.xml.bind.annotation.XmlSchema
at java.base/jdk.internal.loader.BuiltinClassLoader.loadClass(BuiltinClassLoader.java:581)
at java.base/jdk.internal.loader.ClassLoaders$AppClassLoader.loadClass(ClassLoaders.java:178)
at java.base/java.lang.ClassLoader.loadClass(ClassLoader.java:522)
… 5 more
List of devices attached
let know what am missing here?
Salman Rahman
I dont want to install everytime appium and sdk manager. I want I will install appium and set android sdk home once and use it many times. What will be the procedure?