JMeter is a powerful tool for load and performance testing. In this tutorial we going to look on how to install JMeter on MacOS, record and run your test.
To install JMeter on Mac open up the terminal and run:
brew install jmeter
Now lets check the installed JMeter version:
JMeter -v
To start JMeter in terminal execute:
jmeter
Before we can start recording the tests we will need to set proxy for the browser so jmeter can perform the recording. Here is a good tutorial on how to set proxy in Firefox. I mostly use Chrome, so here is how you would do it Chrome on MacOS:
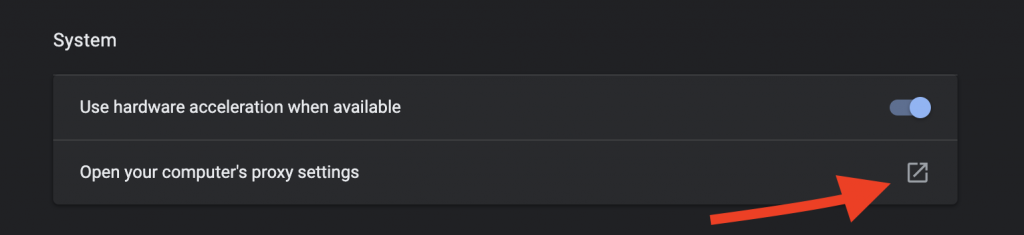
- Open Chrome Settings and expand Advanced settings, scroll down to the System settings and click the icon sown in the screenshot below:
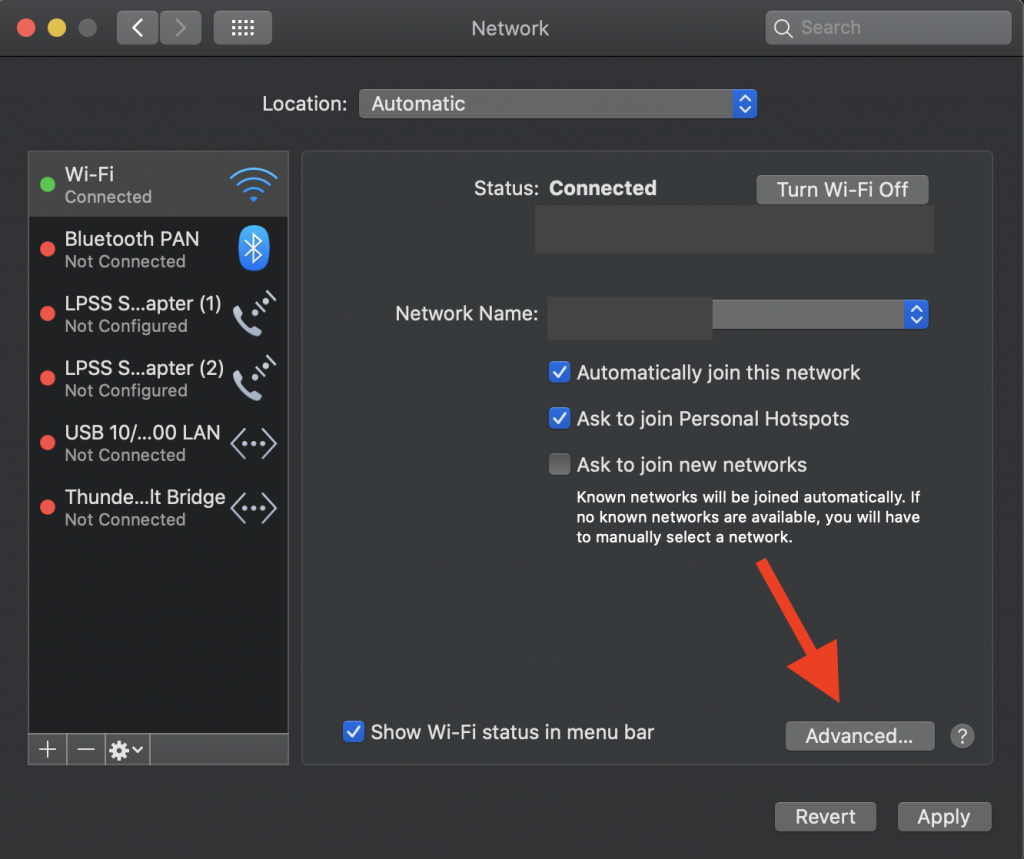
2. Now we are in the Mac settings dialog, click advanced
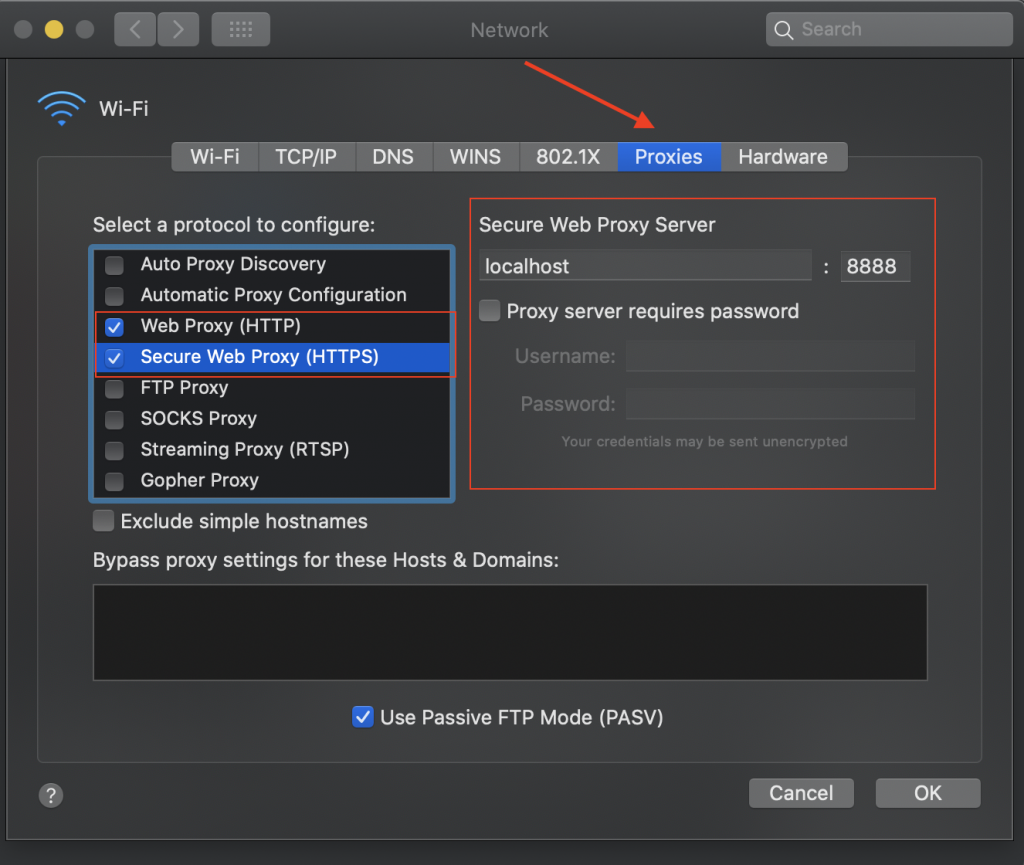
3. In advanced settings switch to proxy tab and make the settings as screenshot below (Note: remember turn off the settings once you finish recording). Check both boxes for HTTP and HTTPS requests, set proxy server to localhost, and add listening port 8888
Now we set our recorder lets setup recording in JMeter, the easiest way of doing it, is by opening recording template, here is how to do it:
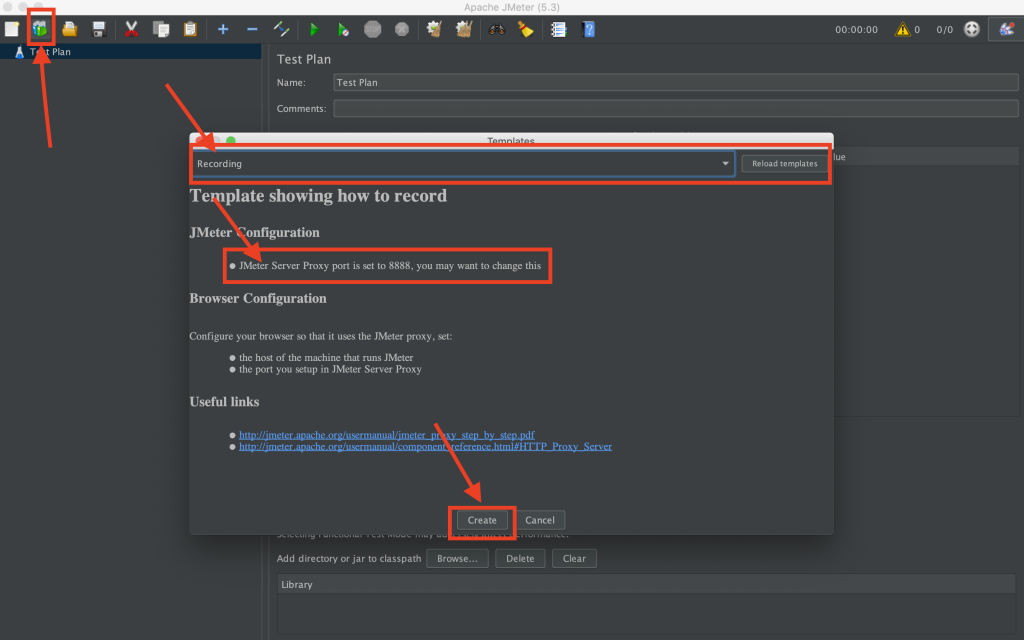
- In JMeter select templates icon
- Once the Templates dialog opens select Recording template in dropdown
- One thing to point out you can see that JMeter going to run on port 8888, the one we specified in our Chrome proxy settings step.
- Now click Create button
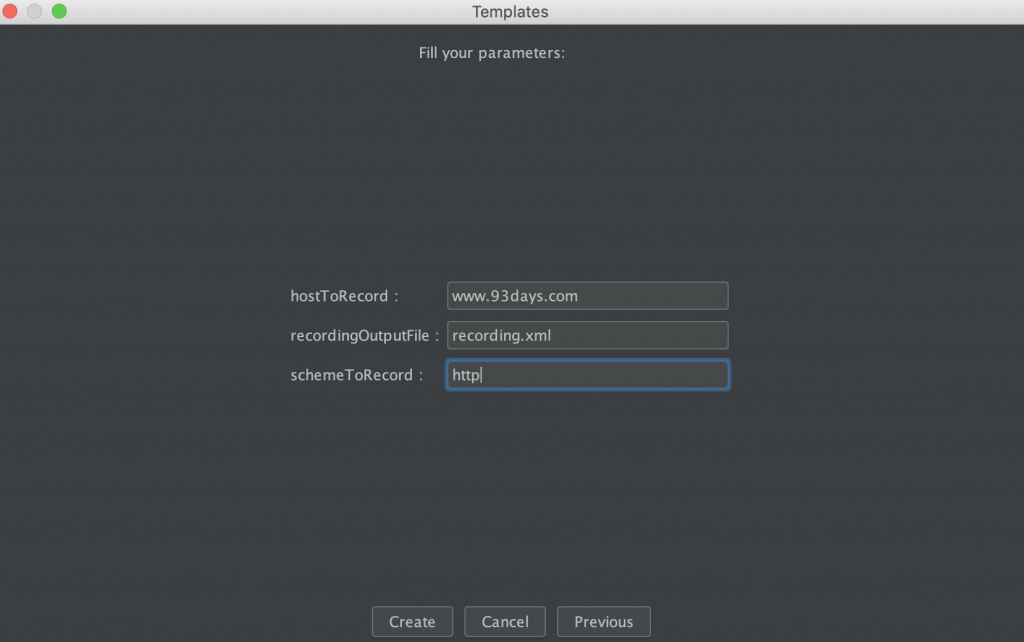
5. In the next dialog, complete the form, in my example I want to record tests against this website and since my blog only use http I’m changing default scheme form https to http. Now click Create button.
We got all set for our first recoding. Let select HTTP(S) Test Script Recorder and click Run button. JMeter will generate certificate for HTTPS recording, but since we running our tests against HTTP we can just hit ok button and continue. You going to see Transactions Contorl popup same as screenshot below.

Now we can navigate to Chrome window and open our website, click few menu items to record the test. Once you done with your test flow click Stop button.
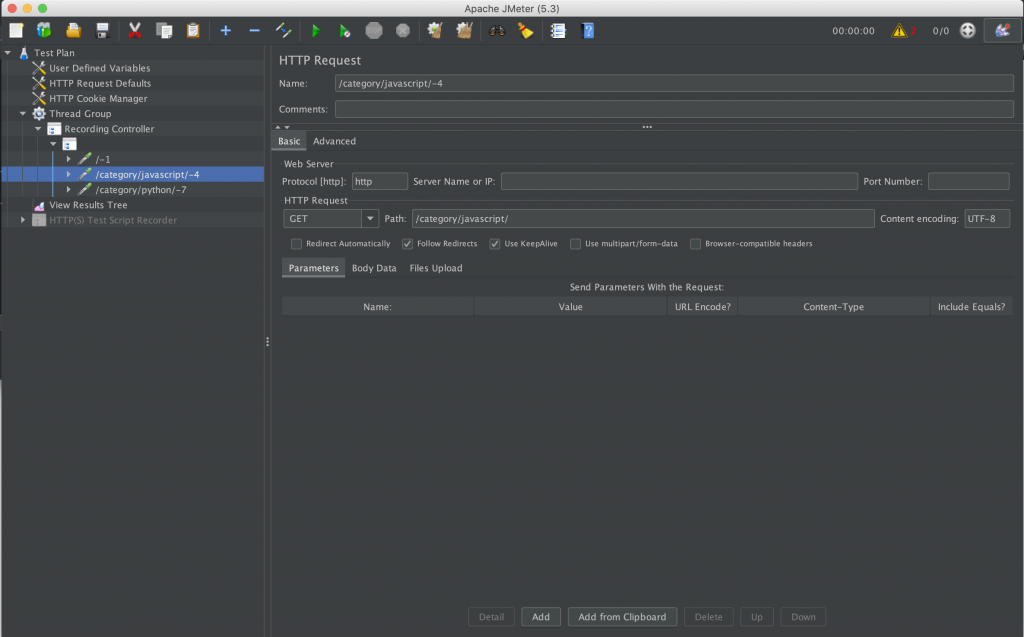
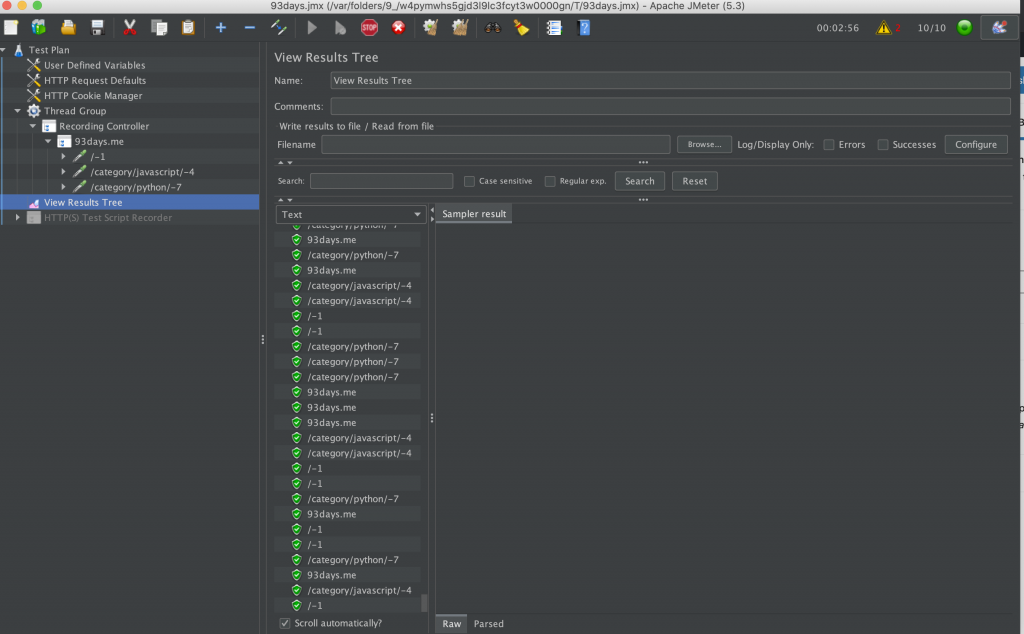
If we expand Thread Group and then Recording Controller, we can see the recorded requests.
All though there is a filter set in HTTP(S) Test Script Recorder, bellow is the screenshot of it.
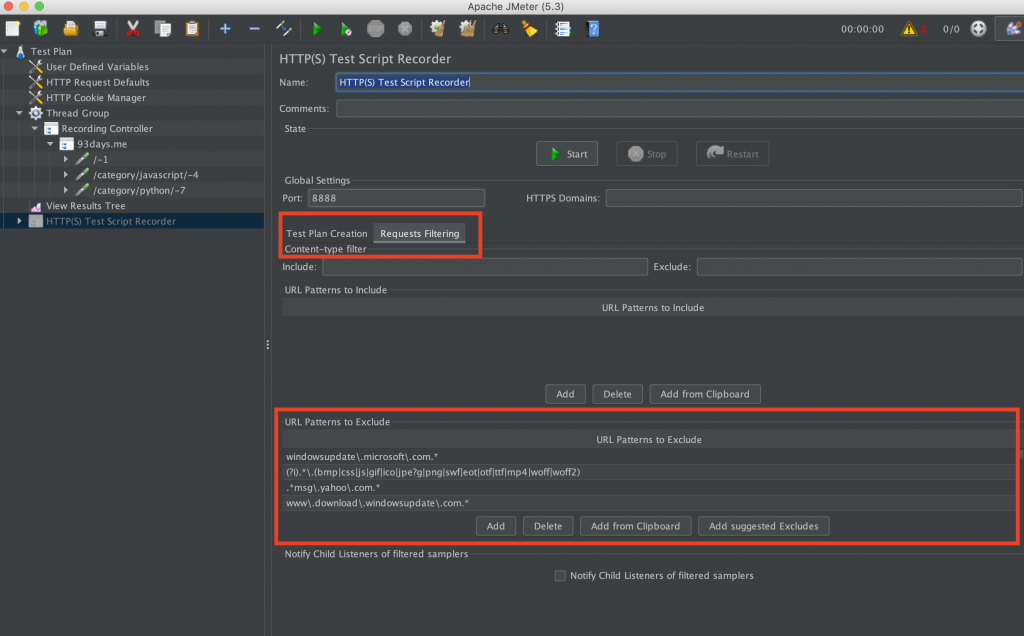
There still might be some calls recorded that you wouldn’t want to exercise during load test, especially those that might cost you and your organization money (most of the time third party analytics tools), so remove those calls from you Recording Controller if you have it.
Now lets run the tests.
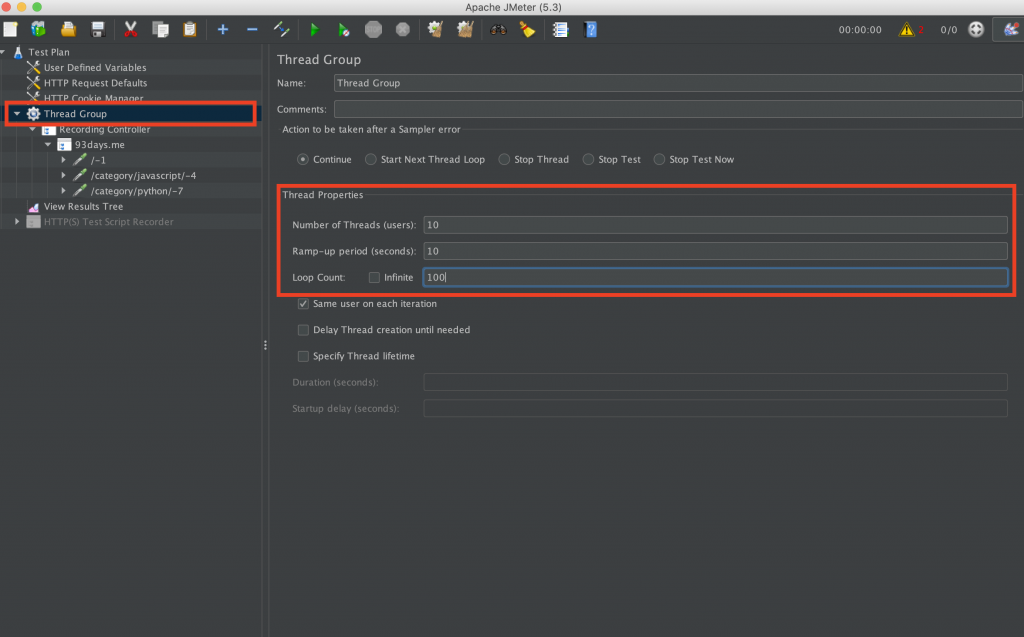
But before we continue please note, I’m executing tests against my personal blog which is running on small AWS instance, so please be kind and use your own project or use small load (set Number of threads to 5, Ramp-up period to 10 and Loop count 10)
Click on your thread group and specify the settings for load test execution. Save the test by clicking Save icon and give it unique name. We all set click green Play icon to execute the tests.
You can watch tests running life View Results Tree listener.
And there you have it your first JMeter test, it takes a little bit of practice to memorize all the steps, but once you get used to it, it is pretty straight forward.
I hope you enjoyed this tutorial and as always feel free leave your comments in the section bellow.