
In this tutorial we are going to create a Visual Regression Tests with Jest and Puppeteer. If you not familiar with visual regression testing, it is tests based on image recognition, basically we take two screenshots and compare them.
Let’s start working on our project. Create new project folder, open terminal and navigate to that folder. Now we need to initiate npm project in terminal run:
npm init
Now once we got our project set, we can start adding dependencies, we going to install puppeteer, jest and jest-image-snapshot, in your terminal window run:
npm install puppeteer jest jest-image-snapshot
Not we need to add jest.config.js file in root directory of our project. On your mac run or simply add the file.
touch jest.config.js
module.exports = {
    rootDir: './screenshot-tests',
    testTimeout: 3000,
    bail: 0,
}
As you already see we specified rootDir for our tests as screenshot-tests, lets add this folder in our project.
mkdir screenshot-tests
By default jest looks for the tests inside __tests__ folder lets add it in screenshot-tests.
mkdir screenshot-tests/__tests__
And all is left is to add snapshot.spec.js, in this file we will specify all our test specs.
touch screenshot-tests/__tests__/snapshot.spec.js
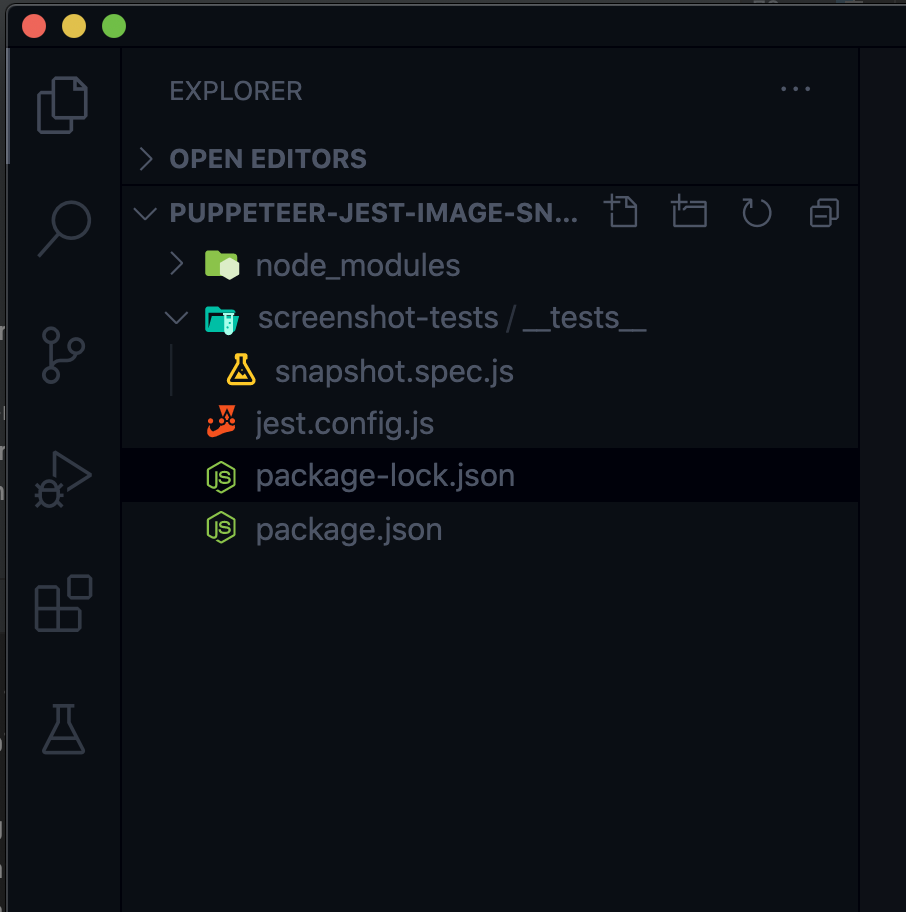
So here is how our final, setup well look like:
Now lets create the test in our snapshot.spec.js file:
const puppeteer = require('puppeteer')
const {toMatchImageSnapshot } = require('jest-image-snapshot')

expect.extend({ toMatchImageSnapshot })
describe('Screenshot Visual Regression', () => {
    let browser
    let page

    beforeAll(async function(){
        browser = await puppeteer.launch({ headless: true })
        page = await browser.newPage()
    })

    afterAll(async function(){
        await browser.close()
    })

    test('Home Page Screenshot', async function(){
        await page.goto('http://93days.me', {
            waitUntil: 'networkidle0',
          })

        const screenshot = await page.screenshot()
        expect(screenshot).toMatchImageSnapshot({
            failureThresholdType: 'pixel',
            failureThreshold: 250,
        })
    })
})
Almost done, before we can execute the test we need to add couple scripts in our package.json:
"test": "jest --config=jest.config.js --detectOpenHandles --forceExit",
"test-update": "jest --config=jest.config.js --updateSnapshot --detectOpenHandles --forceExit"
Here is how the entire packacge.json look like now:
{
  "name": "puppeteer-jest-image-snapshot",
  "version": "1.0.0",
  "description": "",
  "main": "index.js",
  "scripts": {
    "test": "jest --config=jest.config.js --detectOpenHandles --forceExit",
    "test-update": "jest --config=jest.config.js --updateSnapshot --detectOpenHandles --forceExit"
  },
  "author": "",
  "license": "ISC",
  "dependencies": {
    "jest": "^26.6.3",
    "jest-image-snapshot": "^4.2.0",
    "puppeteer": "^5.4.1"
  }
}
And now we are ready to run our test, simply open terminal and execute:
npm run test
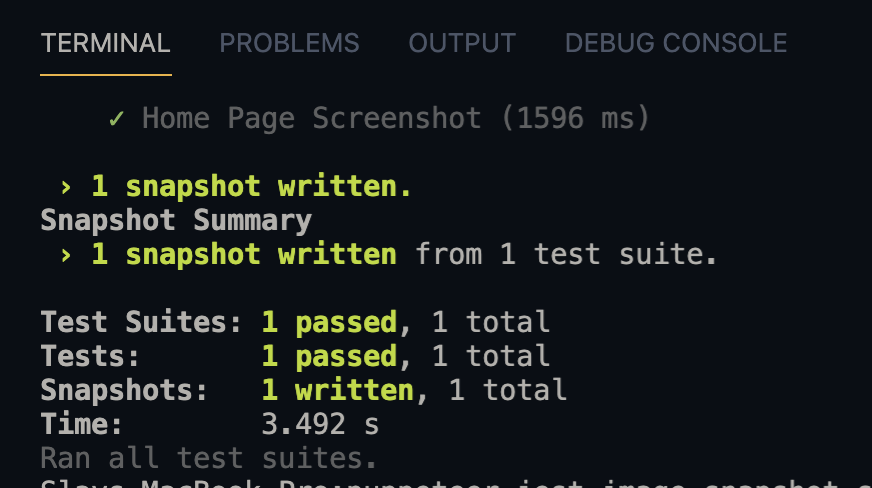
Once the tests are executed it will save a screenshot of the page and you will something like this:
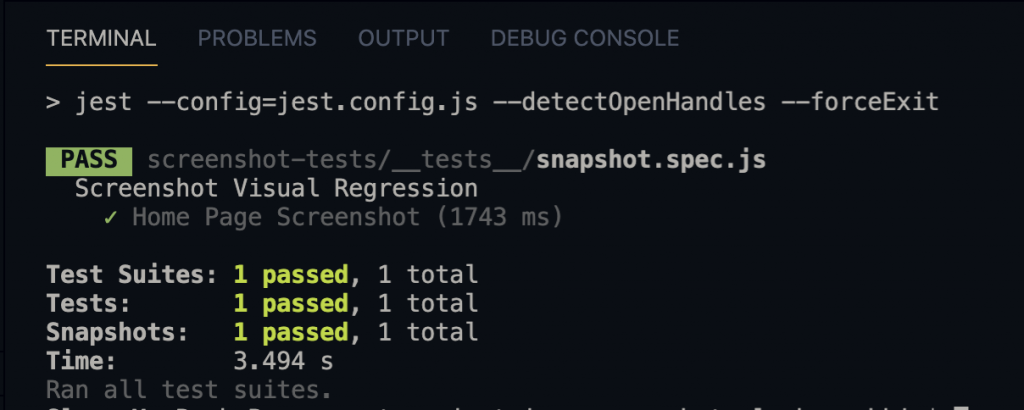
And on our next run it going to compare existing screenshot with the new one taken during test execution:
So what happens if test fails, lets change the url in our test and see the result:
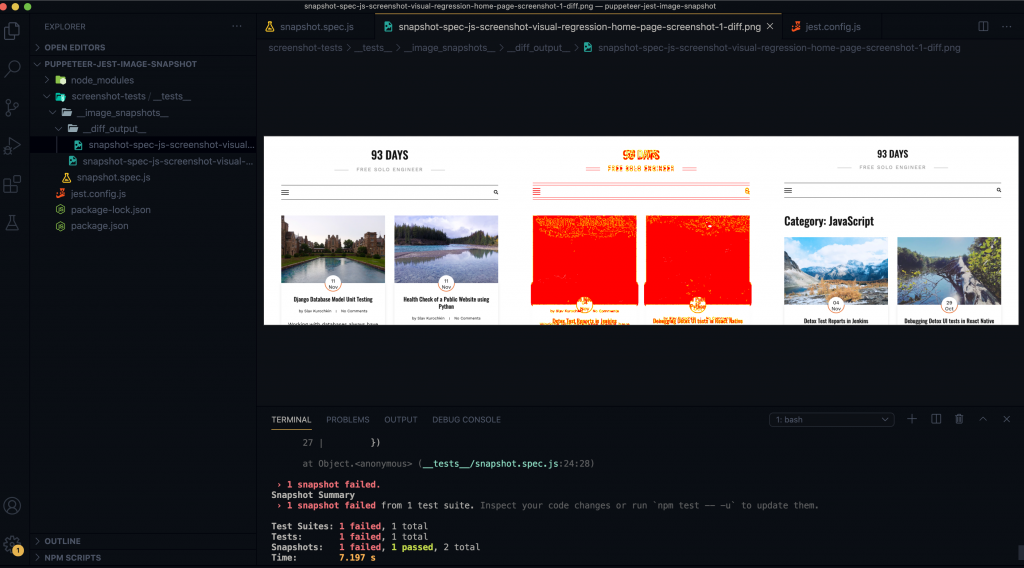
As you can see we got new image added to __diff_output__ folder, on the left is the original, middle showing where the difference at, and the one the right showing the latest test run screenshot.
But what if the changes on the page made intentionally and we want to update original screenshot, then we would run our second script:
npm run test-update
And there you have it now you can run visual regression testing with Jest and Puppeteer.


