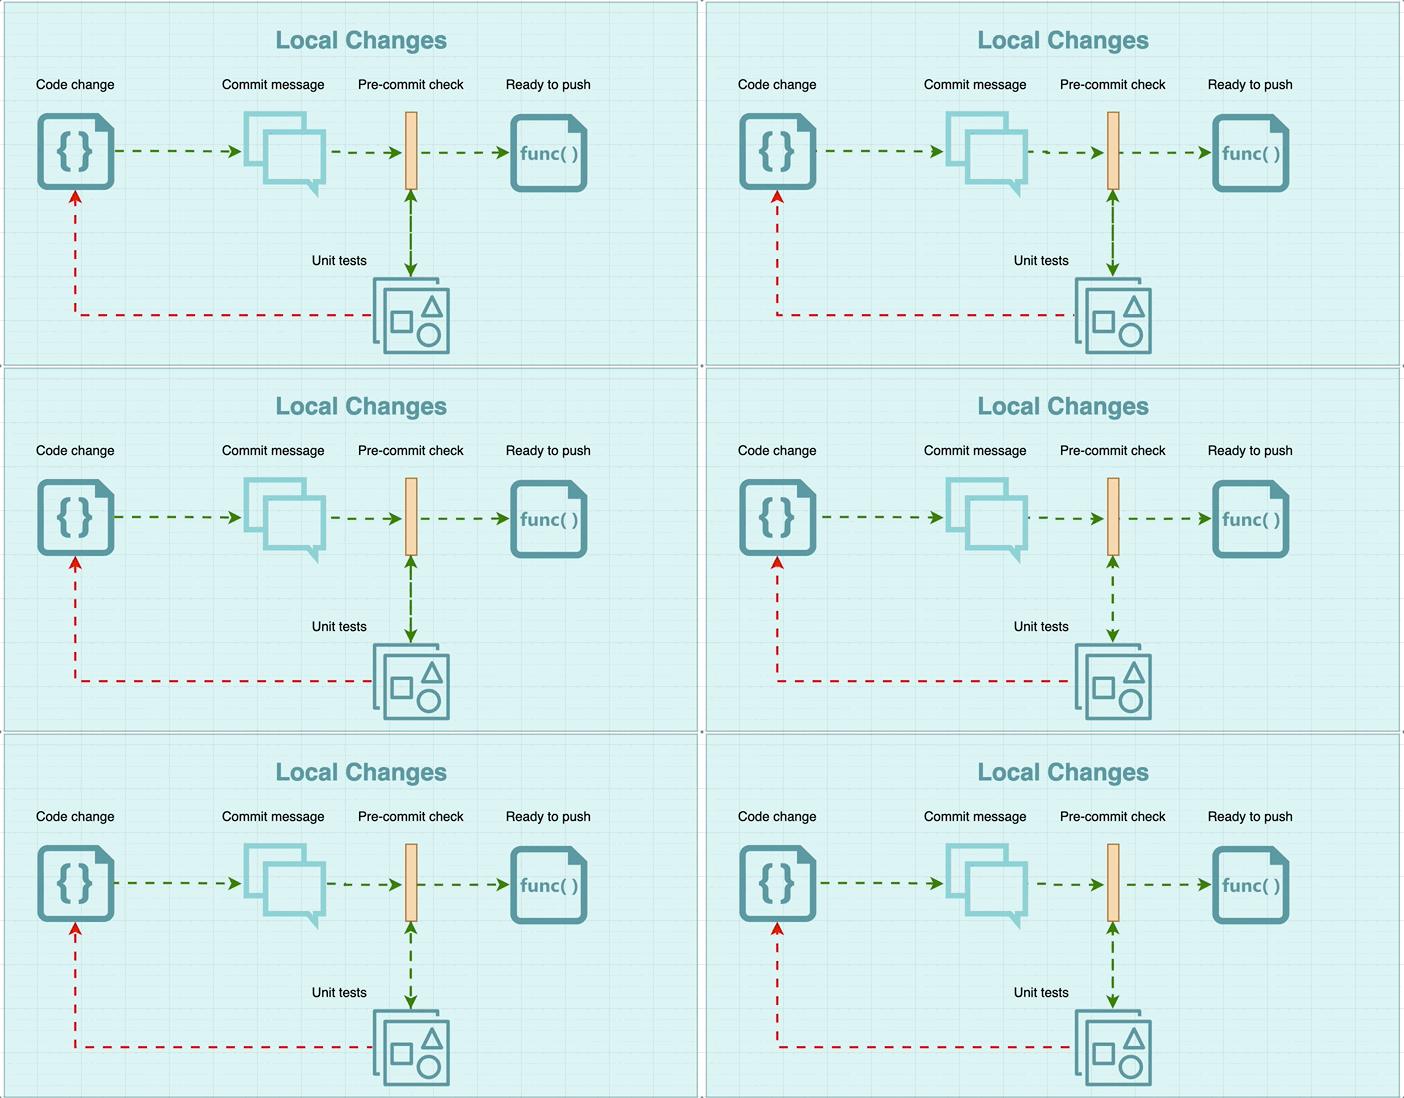
Managing a monorepo brings incredible benefits, such as code reuse and unified project management, but it also comes with unique challenges, particularly when it comes to test automation. Running the entire test suite for every small change can be inefficient, especially in larger repositories with multiple services like a React frontend and an Express backend.
In this blogpost, I’ll walk you through how set up a pre-commit hook to streamline testing in my monorepo pet project. The goal? Ensure that only relevant tests are run based on the changes in your repository. Whether you’ve modified files in your frontend, backend, or both, this setup will automatically determine and run the necessary tests before every commit, saving you time and ensuring code quality.

Installation and basic setup
Before we start lets install husky
npm install husky --save-dev
Run the following command to create the .husky directory and initialize the Git hooks:
npx husky-init
This will:
- Create a
.huskydirectory. - Add a pre-commit hook example (
.husky/pre-commit). - Automatically install hooks for your project.
Update the pre-commit hook in .husky/pre-commit to run your custom precommit script:
npx husky add .husky/pre-commit "npm run precommit"
Now, the .husky/pre-commit file should look like this:
// .husky/pre-commit

#!/bin/sh
. "$(dirname "$0")/_/husky.sh"
npm run precommit
Monorepo pre-commit setup
I updated scripts/precommit.js to align with my monorepo setup, ensuring it handles both backend and frontend workflows seamlessly.
// scripts/precommit.js

import { execSync } from "child_process";
// Get the list of staged files
const stagedFiles = execSync("git diff --cached --name-only", {
  encoding: "utf-8",
});
if (!stagedFiles) {
  console.log("No files staged for commit.");
  process.exit(0);
}
// Determine what to test
const runFrontendTests = stagedFiles.includes("frontend/");
const runBackendTests = stagedFiles.includes("backend/");
// Run tests based on changes
try {
  if (runFrontendTests && runBackendTests) {
    console.log("Running all tests...");
    execSync("npm run test:unit:frontend && npm run test:unit:backend", {
      stdio: "inherit",
    });
  } else if (runFrontendTests) {
    console.log("Running frontend tests...");
    execSync("npm run test:unit:frontend", { stdio: "inherit" });
  } else if (runBackendTests) {
    console.log("Running backend tests...");
    execSync("npm run test:unit:backend", { stdio: "inherit" });
  } else {
    console.log("No relevant changes for tests. Skipping...");
  }
} catch (error) {
  console.error("Tests failed:", error.message);
  process.exit(1);
}
Ensure that the precommit.js script is properly referenced in your package.json
"scripts": {
  "precommit": "node scripts/precommit.js"
}
Since my project includes unit tests, contract tests, and plans for UI E2E tests, I wanted the pre-commit hook to run only unit tests. To achieve this, I updated the scripts in my package.json accordingly.
"test:unit:backend": "npm --prefix ./backend run test:unit",
"test:unit:frontend": "npm --prefix ./frontend run test:unit",
Now I was able to test the setup, by running next command:
git add .
git commit -m "Testing pre-commit hook"
Final words
Setting up pre-commit hooks for a monorepo is an essential step toward maintaining code quality and optimizing your development workflow. By configuring your hooks to run only the relevant tests based on the changes in your repository, you can catch issues early without wasting time running unnecessary tests.
In this guide, we walked through using tools like Husky and customizing a script to handle backend and frontend test execution efficiently. This setup not only enforces better coding practices but also empowers your team to focus on writing quality code while automating repetitive tasks.
As your project evolves, this approach can be easily extended to include additional test types or workflows. Investing time in setting up robust pre-commit hooks today will save countless hours down the line while ensuring your codebase remains reliable and maintainable.
Now it’s your turn to try it out—happy coding!


