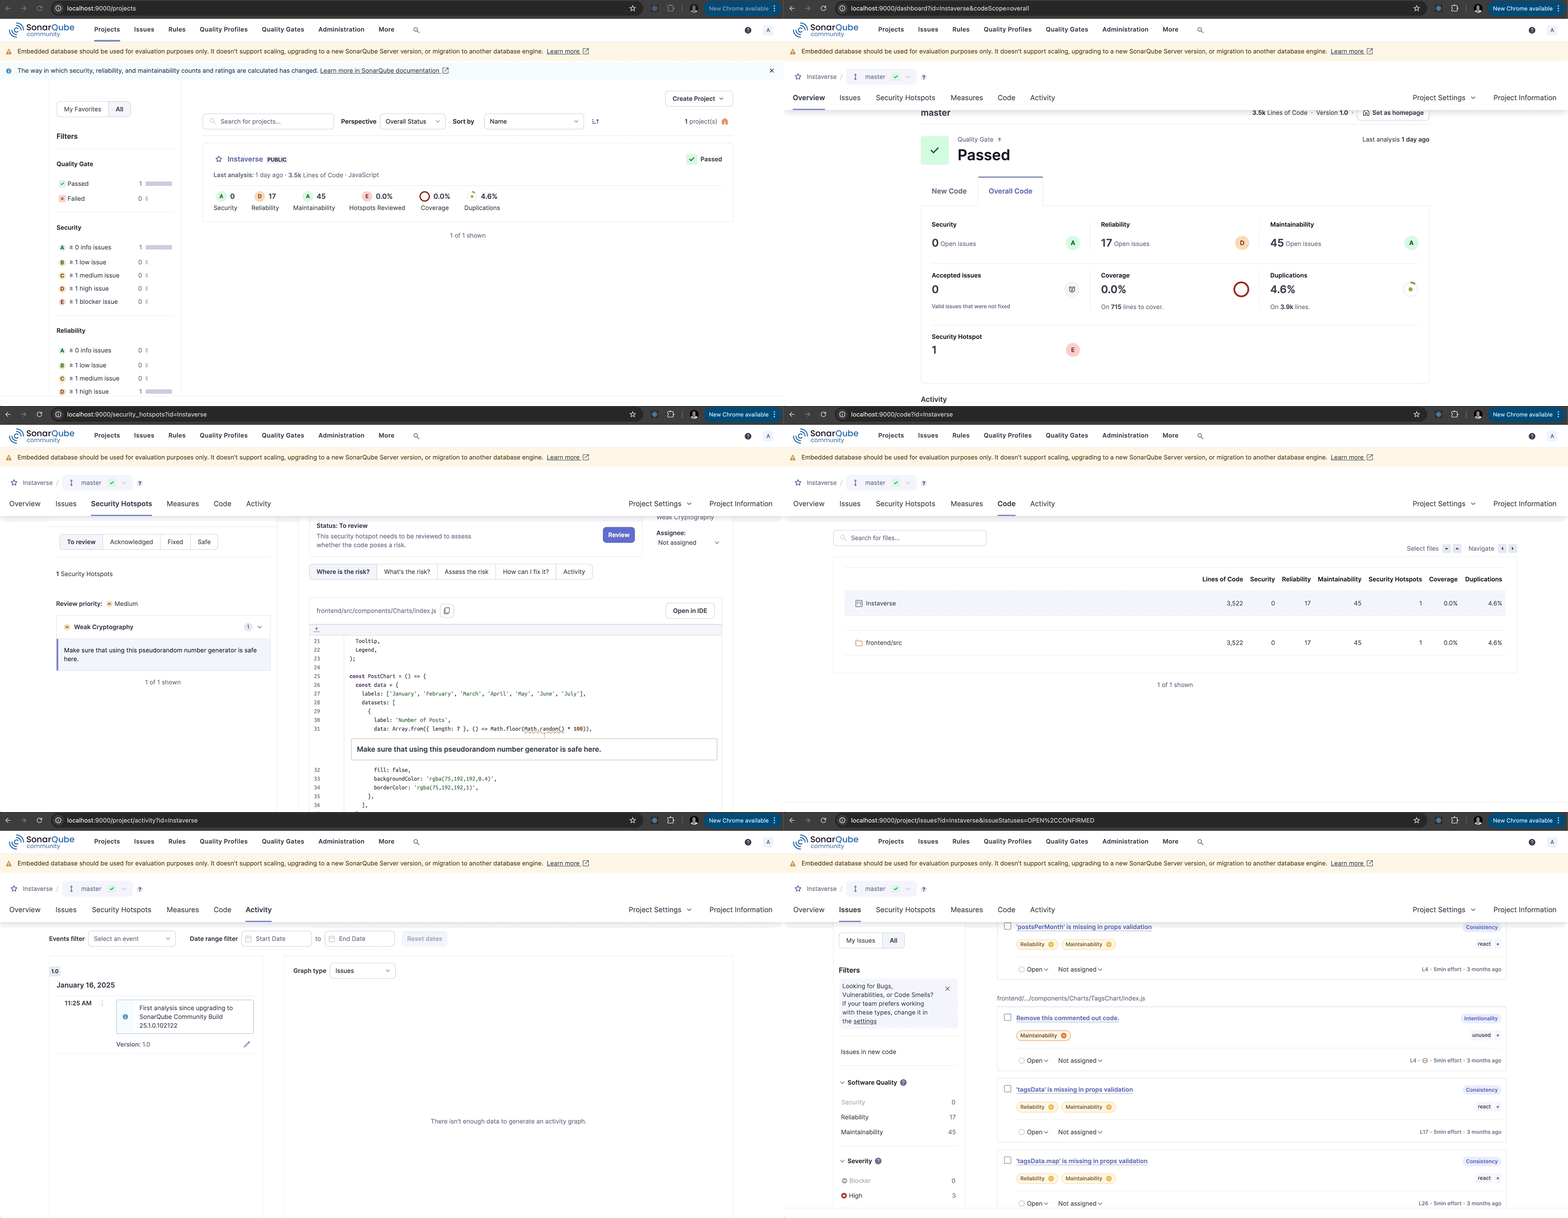
Last year, I was interviewing at a cybersecurity company, and one of the questions they asked was: How do you make sure the code and libraries that you use are secure? I knew about security scanners, so I mentioned that I would use a scanner both locally and in CI. But to be honest, I had no prior experience setting it up. Long story short, I decided to use my pet project as an opportunity to try it out and set up a scanner.
SonarQube is a powerful tool for analyzing code quality and maintaining clean, secure, and reliable codebases. This guide will walk you through integrating SonarQube into your project and running it locally.

Prerequisites
- SonarQube Installed Locally
- Install SonarQube Community Edition from the official website, or use Docker to run it:
docker run -d --name sonarqube -p 9000:9000 sonarqube:community - Ensure the server is running on
http://localhost:9000. - Default credentials:
- Username:
admin - Password: admin (or whatever has been set).
- Username:
- Install SonarQube Community Edition from the official website, or use Docker to run it:
- Sonar Scanner Installed
- Option 1: Download and install the Sonar Scanner.
- Option 2: Use Docker to run the Sonar Scanner:
docker run –rm \ -e SONAR_HOST_URL=”http://localhost:9000″ \ -e SONAR_LOGIN=”your_generated_token” \ -v “$(pwd):/usr/src” \ sonarsource/sonar-scanner-cli
- A Project to Analyze
- You should have a project with source code ready to be analyzed. This guide assumes the use of a JavaScript/Node.js project.
Step 1: Configure SonarQube in Your Project
Create a sonar-project.properties file in the root directory of your project with the following configuration:
sonar.projectKey=your_project_key
sonar.projectName=Your Project Name
sonar.projectVersion=1.0

# Path to source files
sonar.sources=src

# Exclusions (optional)
sonar.exclusions=**/*.test.js,**/*.spec.js

# ESLint report (if applicable)
sonar.eslint.reportPaths=eslint-report.json

# Test coverage report (if applicable)
sonar.javascript.lcov.reportPaths=coverage/lcov-report/index.html

# SonarQube server configuration
sonar.host.url=http://localhost:9000
sonar.login=your_generated_token
- Replace
your_project_keyandYour Project Namewith appropriate values. - Use a token instead of a password for security. Generate a token in SonarQube under My Account > Security.
Step 2: Start the SonarQube Server
- Navigate to your SonarQube installation directory.
- Start the server:
./bin/<your_platform>/sonar.sh start - Open http://localhost:9000 in your browser and log in.
Step 3: Run the Sonar Scanner
In your terminal, navigate to the project root where the sonar-project.properties file is located. Execute the following command:
sonar-scanner
If everything is configured correctly, you should see logs indicating the analysis progress and completion.
Step 4: View Results in SonarQube
Once the scanner completes, navigate to http://localhost:9000:
- Find your project listed on the dashboard.
- Review the analysis results, including code smells, bugs, vulnerabilities, and test coverage.
Common Issues and Troubleshooting
- 401 Unauthorized Error:
- Ensure your
sonar.logintoken is valid. - Double-check your credentials if using username/password.
- Ensure your
- Invalid
sonar.sourcesPath:- Verify the
sonar.sourcespath insonar-project.properties. It must match the folder structure of your project.
- Verify the
- Server Not Running:
- Confirm that SonarQube is running by visiting http://localhost:9000.
Advanced Configuration
- Integrate With CI/CD:
- Add Sonar Scanner commands to your CI/CD pipeline for automated code quality checks.
- Custom Quality Gates:
- Configure quality gates in SonarQube to enforce standards like minimum test coverage or maximum code smells.
By integrating SonarQube into your project, you can proactively monitor and improve code quality. Start small by running it locally and gradually integrate it into your development workflow.
For more tips on software testing and DevOps, explore other posts on 93days.com!


