
I recently worked on an iOS ToDo list application for a couple of reasons: to learn more about SwiftUI and to have a pet project for practicing XCUI Test.
This simple ToDo list application uses SwiftUI for the frontend and Firebase for backend authentication and database. If you want to learn more about it, here is the repo.
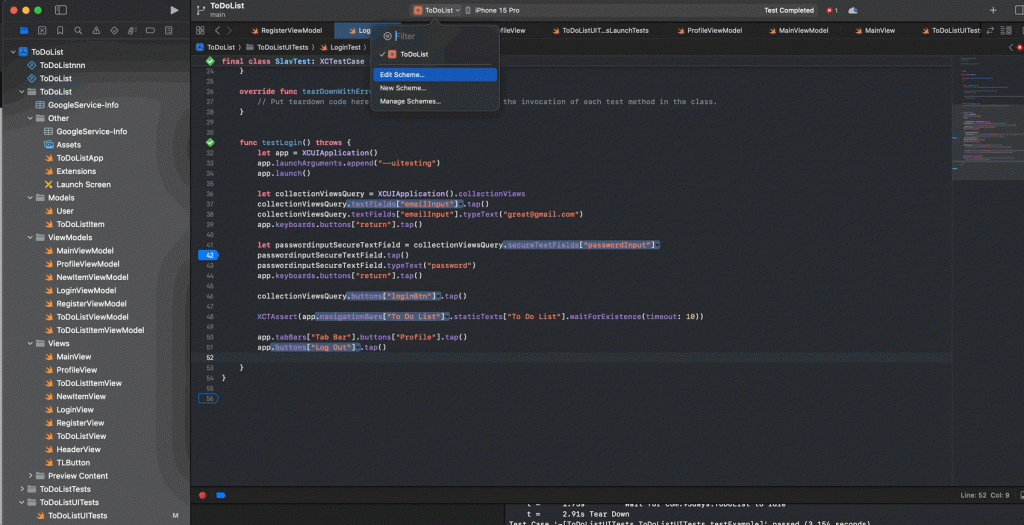
When you start a new project in Xcode, it automatically adds a UI testing target for your application. There are various ways to write your first test, but the method recommended by the Apple team is to start with the recorder. Select the field where you want to start recording, run the application, and hit the record button. It’s a pretty straightforward process.

It is also recommended to use accessibility identifiers to locate your elements on the screen. Here is how you can add it to your view
 SecureField("Password", text: $viewModel.password)
                        .textFieldStyle(DefaultTextFieldStyle())
                        .accessibility(identifier: "passwordInput")
To see if your id getting picked up you can use Accessibility Inspector

Once you open the inspector, just hover over the element and it will get you all the details about it

Sometimes, you may need to wait for elements to appear on the screen. For instance, in my app, the login process can take some time, so I use the wait function to allow the necessary time for the element to appear. In the example below, I’m waiting 10 seconds before throwing an error if the element doesn’t appear.

If you need to stop your test at a specific point, using breakpoints in Xcode is simple. Just select the line where you want the test execution to stop and run the test.

To customize your tests, Xcode offers Test Plans that can be configured to meet your specific requirements. Here is a nice blog post Organize your tests in Xcode using Test Plans, it explains how to use it.
But if you want your app to behave in a specific way during XCUI test runs, you can pass a flag before launching the app, which your app target will then respect. In your test, you’ll need to include the flag like this:
func testLogin() throws {
        let app = XCUIApplication()
        app.launchArguments.append("--uitesting")
        app.launch()
Here is how you would use it in your application:
var body: some View {
            if CommandLine.arguments.contains("--uitesting") {
                viewModel.helperLogOut
            else if viewModel.isSignedIn, !viewModel.currentUserId.isEmpty {
                accountView
            } else {
                LoginView()
            }
        }
If you come from a Web UI testing background you are most likely familiar with the PageObjects Model or Modular Programming, apple has a similar pattern explained in the Grouping Tests into Substeps with Activities article. Here is an example of it:
func testLogin() throws {
    openLoginWindow()
    enterPassword(for: .member)
    closeLoginWindow()
}


func openLoginWindow() {
    XCTContext.runActivity(named: "Open login window") { activity in
        let loginButton = app.buttons["Login"]

        XCTAssertTrue(loginButton.exists, "Login button is missing.")
        XCTAssertTrue(loginButton.isHittable, "Login button is not hittable.")
        XCTAssertFalse(app.staticTexts["Logged In"].exists, "Logged In label is visible and should not be.")


        loginButton.tap()

        let loginLabel = app.staticTexts["Login:"]
        XCTAssertTrue(loginLabel.waitForExistence(timeout: 3.0), "Login label is missing.")
    }
}


func enterPassword(for userType: TestUserType) {
    XCTContext.runActivity(named: "Enter password") { activity in
        let userNameTextField = app.textFields["user name"]
        userNameTextField.tap()
        userNameTextField.typeText(userType.userName)


        let passwordSecureTextField = app.secureTextFields["password"]
        passwordSecureTextField.tap()
        passwordSecureTextField.typeText(userType.password)

        // Dismiss keyboard.
        app.children(matching: .window).firstMatch.tap()
    }
}


func closeLoginWindow() {
    XCTContext.runActivity(named: "Close login window") { activity in
        let submitLoginButton = app.buttons["Submit"]
        XCTAssertTrue(submitLoginButton.exists, "Submit button is missing.")
        XCTAssertTrue(submitLoginButton.isHittable, "Submit button is not hittable.")
        submitLoginButton.tap()
        XCTAssertTrue(app.staticTexts["Logged In"].waitForExistence(timeout: 3.0), "Logged In label is missing.")
    }
}
Now, let’s talk about reports. After running your test plan, Xcode generates a report that details all the tests executed for the specific plan. If a test fails, you have the option to play back a recording of the failed test.

There is much more to explore about XCUI tests, including running tests in CI/CD, designing your test framework with helper functions and different levels of abstraction, setting up and tearing down data, and many other aspects. However, we won’t cover all of these topics in this blog post. Our goal here is to provide an overview of XCUI tests to help you start writing your first tests. I hope you enjoyed it!


